Getting started
MCP Peek is a desktop app for inspecting, running and proxying MCP (Model Context Protocol) servers. This guide takes you from install to your first tool result in a couple of minutes.
1. Download & install
Section titled “1. Download & install”Grab the build for your platform from the download section:
- macOS — one universal build that runs on both Apple Silicon and Intel. Requires macOS 10.15 (Catalina) or later.
- Windows — 64-bit (x64).
- Linux — 64-bit (x64), as an AppImage or
.deb. Needs a recent distribution with the webkit2gtk-4.1 runtime — Ubuntu 22.04 or newer, or equivalent. (The.debdeclareslibwebkit2gtk-4.1-0as a dependency.)
The app updates itself automatically once installed — see Licensing & activation and What we send for how that works.
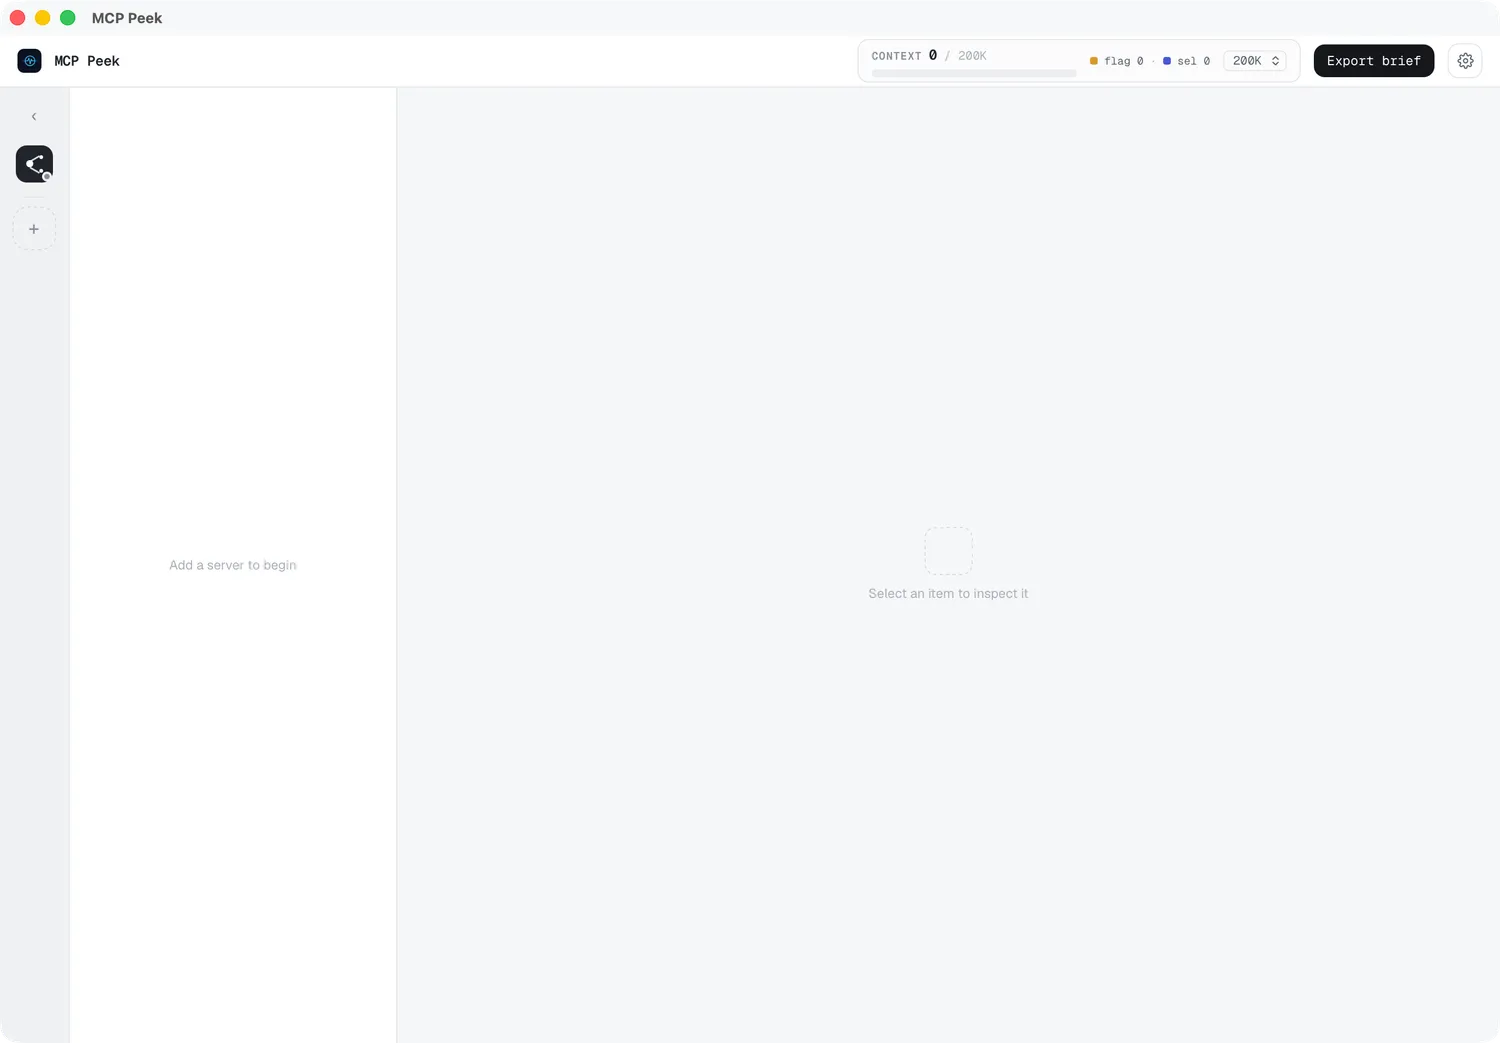
2. First launch
Section titled “2. First launch”On a fresh launch there are no servers yet — you’ll see an empty server rail on the left with a Proxy button and a dashed +, and the explorer prompts “Add a server to begin.”
3. Connect a server
Section titled “3. Connect a server”- Click the + (“Connect a new server”).
- Pick a Transport — stdio (a local process) or HTTP (a remote endpoint).
- Fill the fields. For a quick local test, try the reference “everything” server over stdio:
- Command:
npx - Arguments:
-y @modelcontextprotocol/server-everything
- Command:
- Optionally click Test connection, then Add server.
The server connects (a green status dot) and its catalog fills in. Full details are in Connecting servers.
4. Run your first tool
Section titled “4. Run your first tool”- In the Tools tab, click a tool to open it in the Inspector.
- Fill in the auto-generated Form (or switch to JSON and use the Skeleton generator).
- Press ▶ Run tool and read the Result.
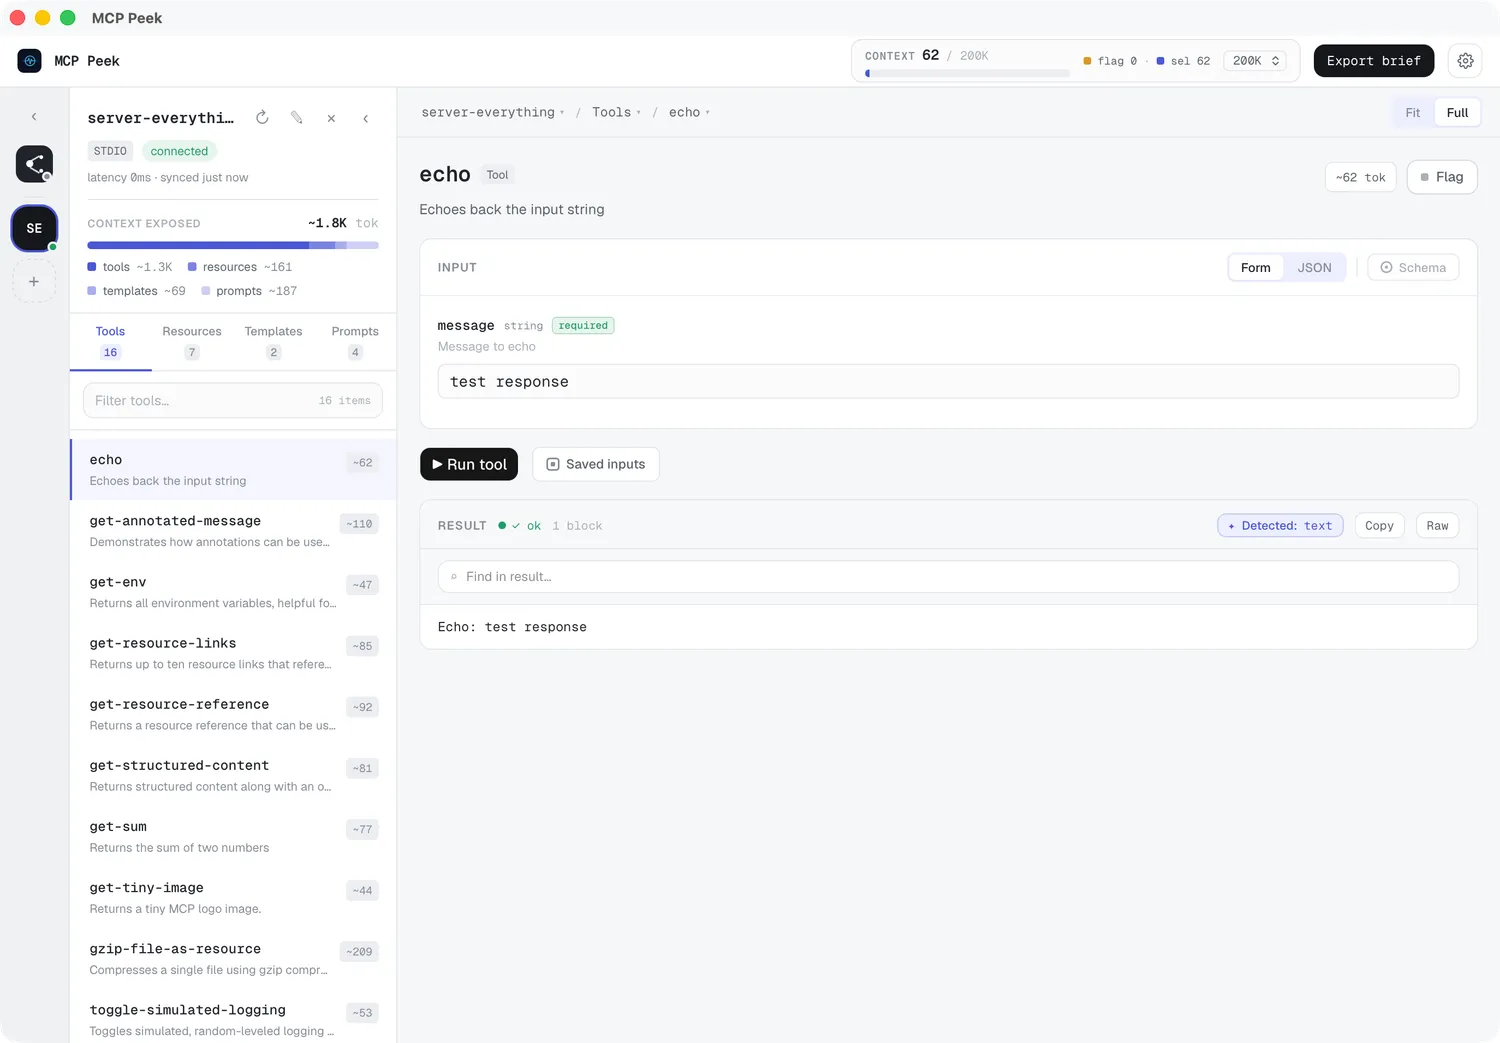
Success looks like: a connected server with a green dot, a populated Tools tab showing per-item token estimates, and a result rendered in the Result card.
Where to next
Section titled “Where to next”- Connecting servers — stdio, HTTP/SSE, and authentication
- Inspecting the catalog — tools, resources, templates, prompts and token costs
- Running tools — forms, the JSON skeleton, and result views
- The proxy — capture live traffic between your AI client and your servers (Pro)